
Chinese New Year was upon us (which just goes to show just how far I have to go to catch up with my posts on the blog) and naturally I wanted to have a Chinese inspired feast. My original notes showed that rather than go the 100% Fuchsia Dunlop route as I would normally I had decided to give my Ching Huang book a bit of an outing. On the menu it seems were Ching’s Sichuan (I can’t help myself) style Chilli Tomato Chicken with a little bit of garlic rice to soak up the juices, some noodles (which mustn’t be cut as they symbolise long life) and, because I can’t ignore my Fuchsia books entirely, Tiger-skin peppers.
Well I don’t know what happened as while the tiger-skin peppers and noodles featured the chilli tomato chicken morphed into Gong Bao chicken and the rice disappeared completely. Still if anything I have now made a mental note to try that chilli chicken one day. I love Gong Bao chicken but it is time to try something new I think.
Tiger skin peppers are so called because of the slight charry streakiness they get. I added a green chilli as in China this wouldn’t be made with “bell” peppers but rather a thinner skinned variety (more similar to those found in Turkish & Middle Eastern shops) where a certain level of heat may be present - its a bit of a gamble (I guess similar to a plate of padron peppers) so I thought I would emulate that in a very small way by adding the chillies.
All the below serve 2 as part of a larger meal with a selection of other dishes.
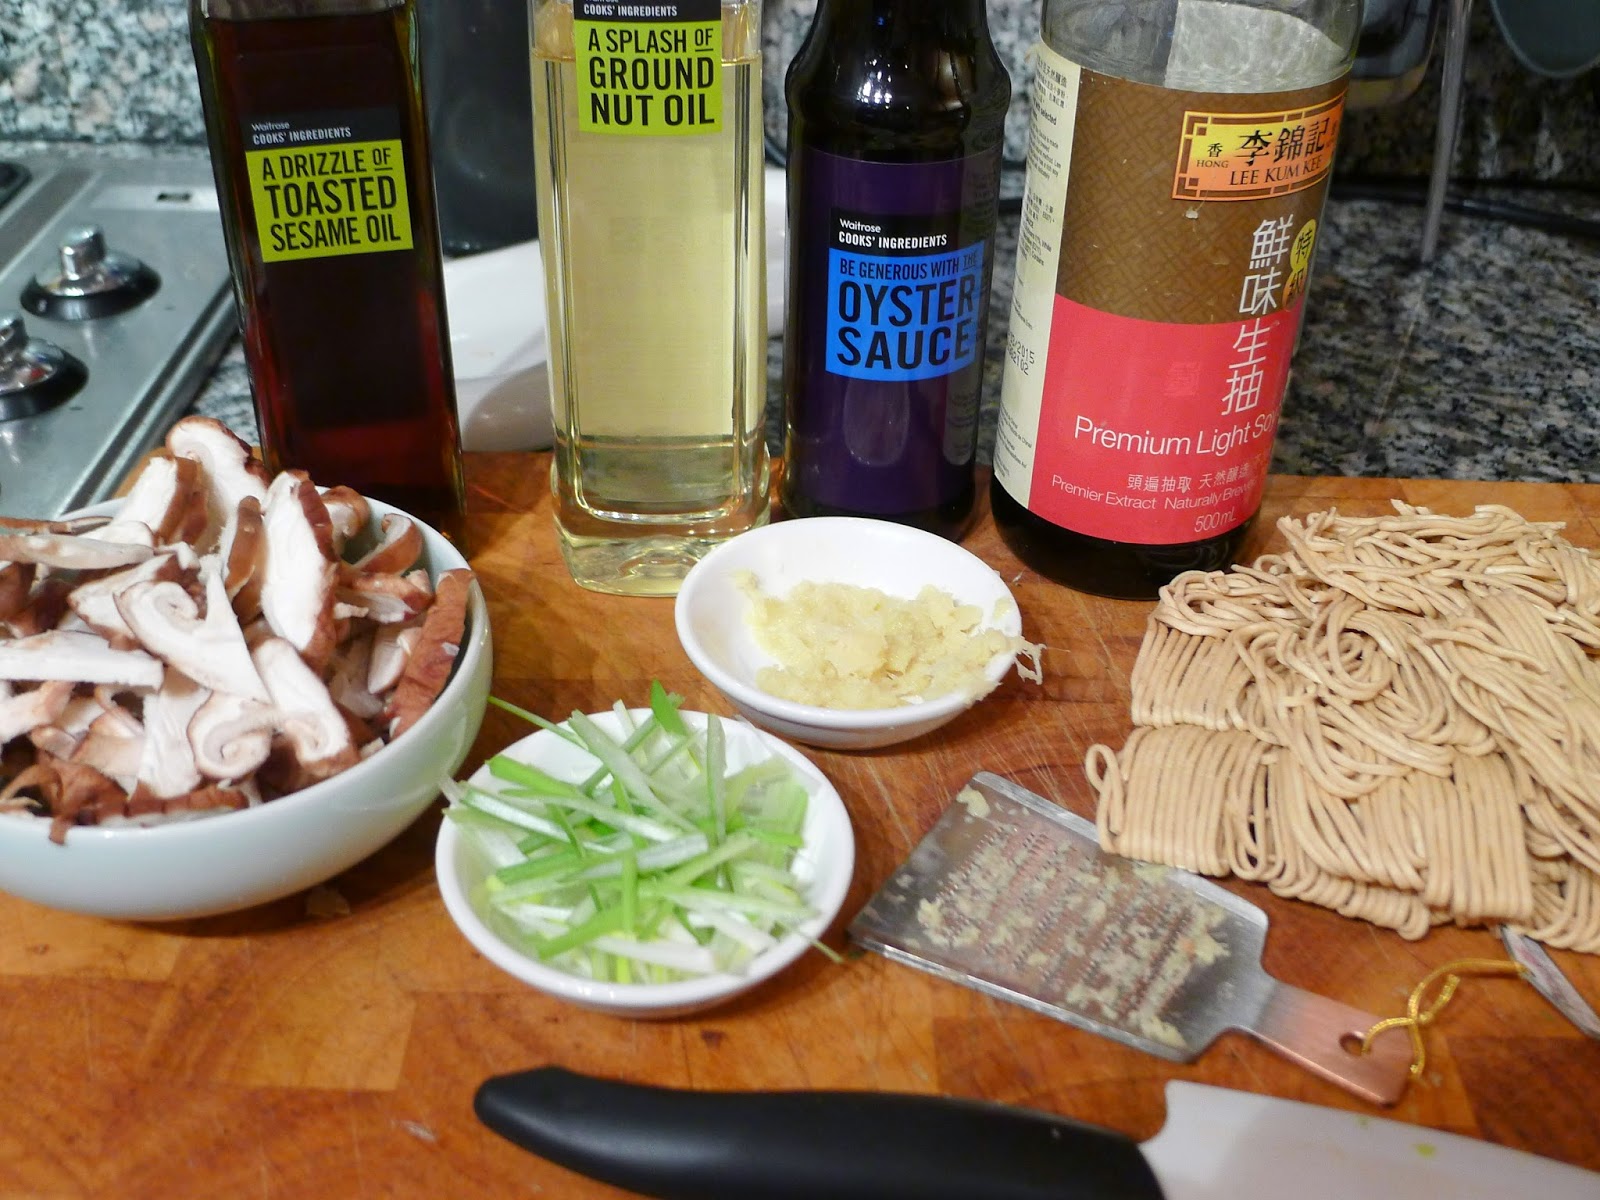
Ginger Shiitake Noodles
100g medium dried egg noodles
dash of toasted sesame oil
1½ tsp groundnut oil
1 inch piece fresh root ginger, grated
75g fresh shiitake mushrooms, sliced
2 spring onions, cut into thirds, then thinly sliced into length-ways strips
1½ tsp oyster sauce
1½ tsp light soy sauce
Heat a wok over a high heat, then add the groundnut oil. Once it’s smoking, add the ginger, stir-fry for a couple of secs, then add the mushrooms with a splash of water to create steam, and cook for 1 min.
Toss through the cooked noodles for 2 mins until hot, then add the spring onions, oyster and soy sauces, and a dash more sesame oil.

Tiger Skin Peppers
2 green peppers, deseeded, cut into eighths then halvedgreen chilli, deseeded and sliced into strips then halved
1 tbsp groundnut oil
1 tbsp chinkiang black vinegar
pinch sugar
pinch salt

Be careful not to cook on too high a temperature or the skins of the peppers will burn before you cook them through.
Add the salt, sugar and vinegar, and stir fry for 2 more minutes until everything is mixed well and fragrant.

Gong Bao Chicken
300-350g chicken thigh fillets cut into small cubes
3 garlic cloves, thinly sliced
ginger, and equivalent amount, thinly sliced
5 spring onions, white parts only, sliced into lengths as long as they are wide
5-10 facing heaven (or other red dried chilli) chillies, cut in half
2 tbsp groundnut or rapeseed oil
1 tsp whole Sichuan peppercorns
75g unsalted, roasted peanuts
For the marinade
½ tsp salt
2 tsp light soy sauce
1 tsp Shaoxing wine
1 ½ tsp potato flour
For the sauce
½ tbsp caster sugar
¾ tsp potato flour
1 tsp dark soy sauce
1 tsp light soy sauce
1 tbsp black Chinkiang vinegar
1 tsp sesame oil
1 tbsp water

Discard the seeds from the halved dried chillies as far as possible and set aside.

Heat a wok over a high flame and then add the oil along with the chillies and Sichuan pepper. Stir-fry briefly until the chillies are darkened but take care not to burn them and remove from the heat if necessary.
Throw in the chicken and stir fry, stirring constantly. As soon as the bits of chicken have separated from each other add the ginger, garlic and spring onions, continuing to stir-fry until fragrant and the chicken is just cooked through.
Give the sauce a stir in its bowl and then stir that it, tossing and stirring so it is all well mixed. As soon as the sauce is thickened and shiny, stir in the peanuts and then serve immediately.


