Monday 26 September 2011

Pasta con Broccoli


Sicilian dishes traditionally bring together Italian & North Africa culiinary traditions: the inclusion for instance of saffron, raisins and pinenuts in a simple pasta dish. In the Inspector Montalbano series of books, by Andrea Camilleri, the eponymous hero, in a fictitious Sicilian town, seems to focus as much on what he has just eaten or will soon eat as solving his cases, and in one of these novels is irate at being disturbed when eating a typical Sicilian broccoli pasta.

A cult dish then, arguably at least. A Google search for the same, as you would imagine, does not of course result in a definitive recipe but rather the consensus on ingredients does seem to be broccoli, pine nuts, raisins and saffron.

The recipe that follows is an amalgamation of those I found: not being a fan of fruit in savoury dishes (albeit dependent on the fruit and the dish) mine omits raisins.


Pasta con broccoli
Serves 2


1 tsp olive oil
150g cavatappi or other short pasta
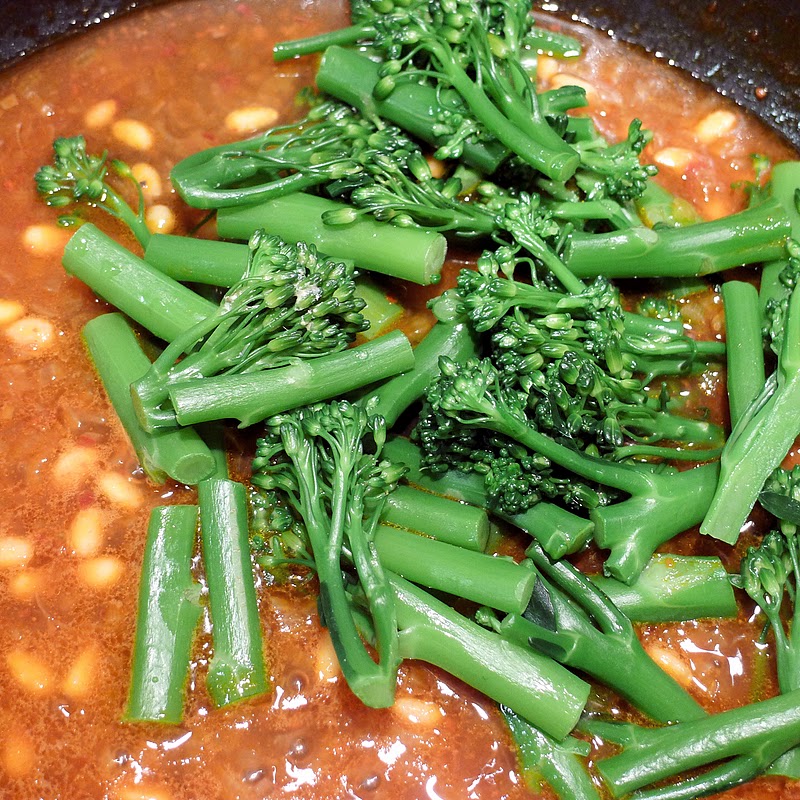
100g tenderstem broccoli, cut into florets & the stalks about 5cm long pieces
10g pine nuts
1½ anchovy fillets (preserved in oil), drained and finely chopped
sml pinch of saffron, soaked in a little hot water (from the broccoli once cooked)
1 banana shallot, finely chopped
1 tsp tomato concentrate
generous pinch red pepper flakes
salt and pepper


Bring a large pan of salted water to the boil and cook the broccoli fairly briefly - only a few minutes you want it cooked but still crunchy. Remove and set aside in a covered bowl. Keep a cup or so of (around 250ml) water to one side then return the water to the boil for the pasta.

Put the saffron in a small bowl and add a couple of tablespoons of the broccoli water - set aside to soak.

In a large frying or sauté pan fry the finely chopped shallot in the oil over a medium heat and when they have softened and started to colour add the chopped anchovies and cook for another minute or so until the anchovies have melted into the oil and shallots.


Add the red pepper flakes, tomato puree, and a cup of the reserved broccoli water, mix well and bring to the boil.

The water for the pasta would probably have returned to the boil by now so cook the pasta for at least 2 minutes less than the packet instructions - i.e less cooked than al dente.

Add the pine nuts to the sauce and simmer for a few more minutes before adding the saffron.


Let the sauce simmer for a minute or so and then tip in the drained broccoli. Mix together carefully but thoroughly.


By now the pasta should be cooked as per instructions above. Drain, mix in thoroughly with the sauce (season carefully with salt & pepper as needed), cover and turn off the heat. Leave for 5-10 minutes to let the sauce infuse the pasta. Serve with grated pecorino: as good quality as possible, or leave without.


Note: It has since come to my attention that “broccoli” in Italian recipes frequently refers to Romanesco broccoli which is likely what this recipe should be made with. Romanesco Broccoli is in fact the lime green cauliflower with pointy Fibonacci spiral florets. As I have just ordered some in my next veg box delivery I'll need to make again soon with the real thing  - I'll add some pics here after.

Read More »

Thursday 22 September 2011

Gnocchi di Ricotta


I have long known that fresh gnocchi in a restaurant (particularly in a restaurant in Italy!) is approximately a billion times nicer than that bought pre-packaged in a supermarket. Light, velvety & pillowy as compared to heavy and a bit stodgy & claggy.

However I had totally bought into the old myth that home-made gnocchi have to be labour-intensive and time-consuming. It seems that is not the case at all and even better I read that ricotta gnocchi (a traditional Florentine pasta) is even easier to prepare and even lighter than the more common Northern Italian potato gnocchi: super quick too.

The gnocchi should be served as soon as they're cooked, so make sure you have your chosen sauce ready - I had some of my amazing ragu that I’d cooked up a big batch of ages ago in the freezer so I just defrosted and reheated that. A simple tomato sauce would also be good or a "deconstructed" pesto or even just sage butter.

Refrigerating the gnocchi for fifteen minutes firms up the dough and makes it easier to work with and the finished gnocchi freezes very well and will keep for one month. (After that, they're still safe to eat, but the "fresh" quality diminishes.) Spread the extra gnocchi out on a sheet pan and place in the freezer until the gnocchi are firm. Then transfer to a freezer bag or container. Frozen gnocchi can be put directly into boiling water to cook.

So here we are: recipe of my own but inspired by very many I saw online.


Gnocchi di Ricotta
Serves 3


250g ricotta
1 medium egg yolk
¼ tsp fine sea salt
75 g freshly grated Parmesan or Pecorino
50-75g plain white flour (I actually used 00 as I had just bought some) plus extra for dusting
freshly grated nutmeg

Discard any excess liquid that the Ricotta’s packaging may contain, then add the ricotta to a strainer lined with a muslin square. Leave to drain any excess liquid for at least an hour.


Add the drained ricotta, egg yolk, salt, nutmeg & pecorino or parmesan to a large bowl and mix well with a wooden spoon.


Add the flour and stir until just combined. It may be quite sticky - refrigerate for 15 minutes then check the texture. You want it a little tacky but not so much that it is just clinging to your fingers. Add more flour if necessary but don’t overdo it as more flour = denser gnocchi and you want these as light & fluffy as possible.

Refrigerate for a further 15 minutes.

When you are ready to shape the gnocchi put a large pan of salted water on to boil and start reheating your sauce.

Generously flour a board and your hands, take a squash ball size dollop of the dough and place onto the board. Dust with flour then roll into a middle-finger thick roll.

Dust a knife with flour as well the cut the roll of dough into little pillows about ¾ to 1 inch long - place each on a floured baking paper lined tray. Dust again with flour.

Repeat with the rest of the dough. Then make little grooves in the gnocchi by rolling them off the back of a fork with your thumb (you can just leave them as plain pillows if you like).

When the gnocchi are shaped and the water is boiling add the gnocchi and stir once, so they don’t stick to the bottom.  Cook until they start floating on the surface of the water - about 2 - 4 minutes depending on their size then cook for a minute or so more.

Drain and serve with a sauce of your choice immediately.


Read More »

Tuesday 6 September 2011

Braised Beetroot With Sour Cream


Despite my beetroot bolting like mad I decided to try and cook with the last of it the other day, figuring that it was worth a go - at worst I would have to ditch it, at best I would have something yummy to eat.

I had some soured cream in the fridge, leftover from making beef stroganoff (which unfortunately I failed to take photos of) and had previously seen a Russian inspired braised beetroot dish online so opted to go for that.

The recipe that follows is adapted from that. It makes quite a lot as a side dish: the first day it accompanied a seasoned, pan-fried pork chop while the second day was alongside some boerewors (spicy South African beef sausages) and horseradish sauce as per the pictures.


Braised Beetroot With Sour Cream
Serves 2 very generously as a side


2 medium beetroot, peeled and cut into small cubes (wear rubber or latex gloves)
1 carrot, finely sliced
2 sticks celery, finely sliced
salt and pepper
1 tsp cider vinegar
50g butter
150ml sour cream
1 tsp flour
1 tsp sugar

Put the carrots, celery and beetroot in a heavy based pan. Season and add the vinegar and butter as well as just enough water to just cover the vegetables.

Cook very slowly (use a heat / simmer mat if necessary as you don't want the veg to catch on the bottom of the pan) for 45-60 minutes or until the beetroot is completely soft.

Stir in the flour then the sour cream and sugar. Make sure all combined and cook for a further 10 minutes.


Read More »